
How To Clean A Keurig Coffee Maker
Disclosure: This post contains affiliate links and I may earn a small commission (at no extra cost to you) if you click through and make a purchase. Thanks in advance – I really appreciate it!
Key Takeaways:
This is how you can clean a Keurig coffee maker.
Step 1: Unplug the machine and allow it to cool.
Step 2: Lift up the lever to disassemble the K-Cup pod holder and funnel.
Step 3: Wash them in the sink or on the top shelf of the dishwasher on a low temperature cycle.
Step 4: Remove the water reservoir and lid and wash both with soapy water.
Step 5: Rinse thoroughly and spray the filter with a faucet hose. Let the parts dry before reassembling.
Owning a Keurig means you no longer have to think about wrangling filters and ground coffee beans every morning.
But many of us are probably guilty of not thinking about cleaning it either — and that thing can get dirty.
Like all coffee makers and pod coffee systems, Keurigs can serve as a breeding ground for harmful bacteria and mold if not regularly cleaned.
Machines getting a lot of daily use can develop clogs that can cause the system to quit completely. Here’s a quick cleaning routine to keep your machine running well.
How often should you clean a Keurig?
The exterior of your Keurig should be cleaned about once a week at the very least, or more frequently if things get dire.
Keep in mind that the drip tray can only hold eight ounces, so you’ll need to empty it every once in a while.
It’s recommended that the water reservoir and pod holder get a weekly cleaning, but “descaling”—or removing mineral buildup—can be done less often, around once every three to six months.
The descale light will usually flip on when it’s time, but you’ll probably be able to tell on your own anyway. Brewing may become slower, and your cup may not fill up all the way.
As for filter replacement, that can be done every two months or so.
Recommended Products:
How to clean individual parts of a Keurig?
Turn off and unplug the machine and allow it to cool.
Next, lift up the lever to disassemble the K-Cup pod holder and funnel, and wash both parts in the sink or on the top shelf of the dishwasher on a low temperature cycle.
While you’re at it, loosen any potential clogs from the “entrance needle” (that thing that pierces the pods) as well as the “exit needle” underneath the pod holder using a clean paperclip.
Remove the water reservoir and lid and wash both with soapy water in the sink—not the dishwasher.
Rinse thoroughly and spray the filter with a faucet hose, or shake the reservoir to create a more forceful stream of water.
But when you’re done, don’t towel-dry the inside, as you could leave some lint behind.
How to descale your Keurig after cleaning?
Descaling a Keurig machine—the process of removing calcium deposits, or ‘scale’—is important for several reasons.
First, scale buildup will cause clogs that your weekly cleaning routine isn’t strong enough to clear. Clogs in a Keurig machine lead to bad, inconsistently brewed coffee.
Before you start, understand that, depending on which model of Keurig you own, the descaling process can take between 2–4 hours to complete.
Fortunately, it is a job that only needs to be done once every 3–6 months, depending on how often you use your machine.
What You”ll Need
- A coffee mug
- Kitchen sink
- Water
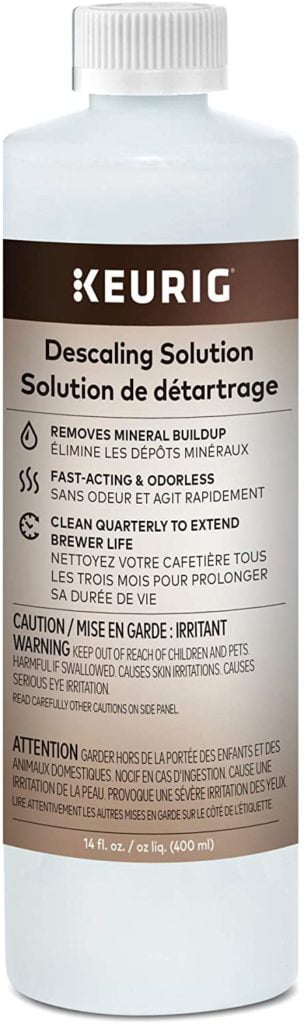
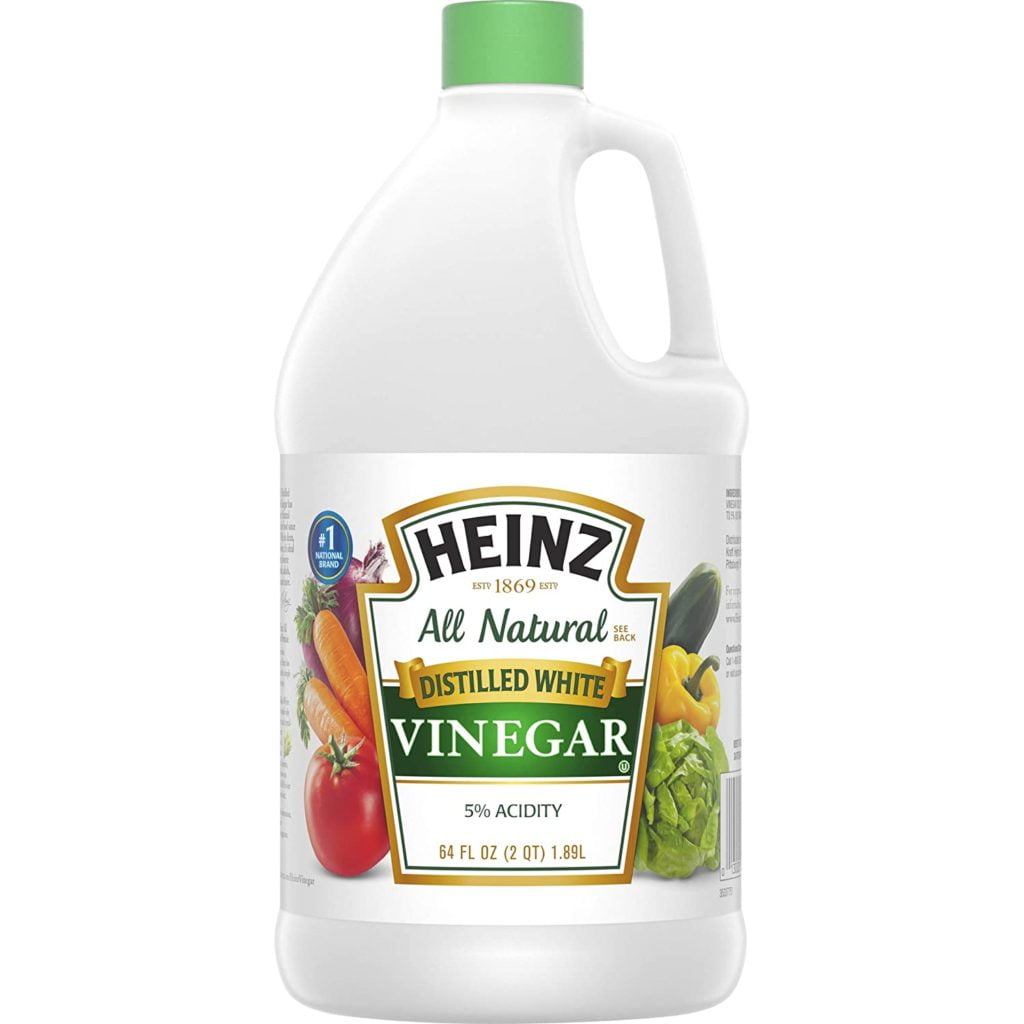
- Keurig Descaling Solution or white vinegar
Instructions:
Step 1: Empty your Keurig
Pour out any water in your Keurig’s reservoir and remove the water filter. If your machine has one, and make sure the K-Cup holder is empty.
Step 2: Pour descaling solution or white vinegar into the reservoir
If you are using Keurig Descaling Solution, pour the entire bottle into the reservoir. Next, fill the empty bottle up with water. Pour the water from the bottle into the reservoir.
No descaling solution? No problem: fill up the reservoir with a mixture of 1/2 white vinegar and 1/2 water. For extra-heavy scale buildup the ratio can be 2/3 white vinegar to 1/3 water.
Step 3: Set your mug on the tray and hit ‘brew’
Pretend that you’re brewing the worst cup of coffee, ever: Place a coffee mug on your Keurig’s tray.
Move the machine’s handle up and down or push the start button, depending on which model of Keurig you own.
Choose 6 or 10 ounces (depending on the size of the mug you’re using) and let the mug fill up with the cleaning solution.
Step 4: Empty your mug in the sink and start again
Empty your full mug into the sink and “brew” another cup until the Keurig’s reservoir is empty.
If you notice that the cleaning solution isn’t flowing out of the Keurig as strongly as you suspect it should be by the time your last mug of yuck has been served up, it likely means that scale buildup still remains. In this case, repeat Steps 2–4 before moving on.
Step 5: Wait for 30 minutes
Leave your machine on and let it rest for half an hour. Any residual calcium scale buildup will break down during this time.
Step 6: Rinse it out with fresh water
Thoroughly rinse and fill the reservoir up with fresh water. The inside of your Keurig needs a rinse before you start using it to make coffee again, too.
To do this, hit brew and start filling and emptying your mug, just like you’ve been doing with your cleaning solution, until the reservoir is empty.
Once the reservoir is empty, refill it one final time and brew hot water into your mug until the Keurig’s water supply is spent.

Amit Gupta
Hi, my name is Amit Gupta, and I am the owner and contributor at Cafeish. My obsession with coffee started when I received my first French press as a gift almost ten years ago. Since then, my love of coffee – and the number of coffee gadgets I own – has grown considerably.
Most Popular

ABOUT US
We are a team of coffee affcianados with experience and expertise in making world renowned coffee. In fact, preparing the best coffee ever with a fluffy top reminds us of magic, with secrets of how to achieve each particular effect. Making coffee is not our only hobby, we always keep our ears open as to what’s happening around and what scientists and manufacturers produce for consumers. It’s not an easy task to do – it’s rather time consuming. Hence, Caféish website was launched.
LEGAL DISCLAIMER
Caféish is a participant in the Amazon Services LLC Associates Program, an affiliate advertising program designed to provide a means for sites to earn advertising fees by advertising and linking to Amazon.com. Caféish also participates in affiliate programs with Clickbank and other sites. Caféish is compensated for referring traffic and business to these companies.